Hello everyone! Nicholas Timinskas here, game designer for Jubilee Games, and guest contributor to the League.
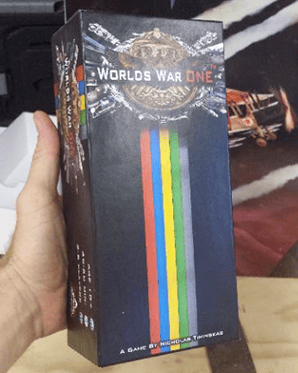
In doing demos of my new game, Worlds War One, I’ve received consistently favorable feedback on an element of the game I wouldn’t have necessarily expected—the box!
These days, making professional looking game components, cards, meeples, dice, etc., is extremely easy what with the over-abundance of online offerings, but making a good looking box to store your various gaming bits has proven elusive in the pre-manufacturing stages.
Fear not, it doesn’t have to be – making a clean and attractive container for your game is ridiculously easy and could go a long way in distinguishing yourself and your game in the expanding gaming community.
HERE’S WHAT YOU’LL NEED:
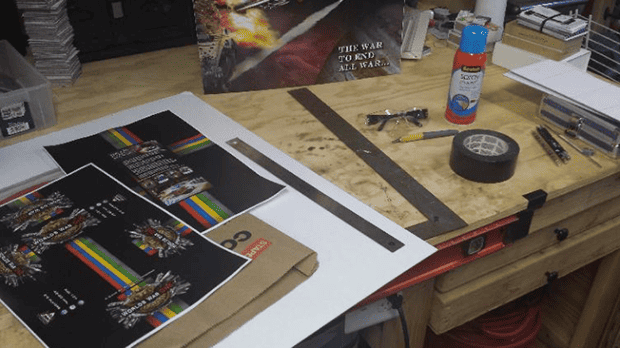
- 20” x 30” illustration board
- 1 bottle spray adhesive
- 1 hobby knife
- 1 metal ruler (although, I would recommend including an additional Stanley steel square loosely mounted to your working surface, see pictures)
- 1 roll duct tape
- Safety glasses
- Your box cover design printed on good quality paper
BLUEPRINTS
The first step is to determine your box dimensions. This is a critical first step, one that will probably take you a few attempts of trial and error as you get the placement of images just right. I recommend putting together some blueprints as I have done here:
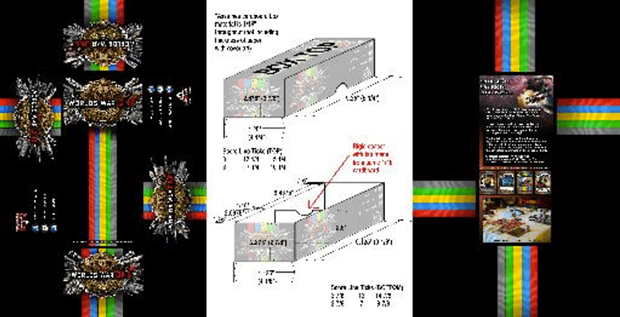
A couple of things to note—I found it incredibly helpful to lay out my score line tick marks for the top and bottom of the box, for two reasons:
- First, I am not carrying mistakes (if any) through to every measurement.
- Secondly, it makes it a lot faster to mark out the box dimensions on the illustration board.
Another thing to note is that you want to make certain that the image size of your Photoshop box cover art is exactly the same dimensions as the paper it will be printed on. Otherwise, it will be a pain in the neck to try to keep resizing your images to match the actual dimensions you need them to be. I would recommend bringing a ruler with you to your printer to make absolutely sure you got the right size—before you ask for a print run of twenty sheets.
BOX SKELETON
Ok, so let’s assume you have your blueprints finalized and your box art printed out, now let’s make a box!
Pro tip: Make sure your workspace is clean! Also, do NOT use the same space for cutting/folding as you do for applying spray adhesive. That can very quickly become a…heh heh…sticky situation.
Step one: cut the box to its proper dimensions. As a general rule of thumb (if using the illustration board), the box top should be about 1/8″ bigger along the x- and y-axes than the box bottom along the same axes (in my blueprints above, the z-axis is 2 7/8”). I left the z-axis measurements the same for both the top and bottom of the box, and it makes the box easier to open that way.
CAUTION: They say that iron sharpens iron…they don’t say that fingers sharpen hobby knife blades! You have been warned! Hobby knives are really sharp…
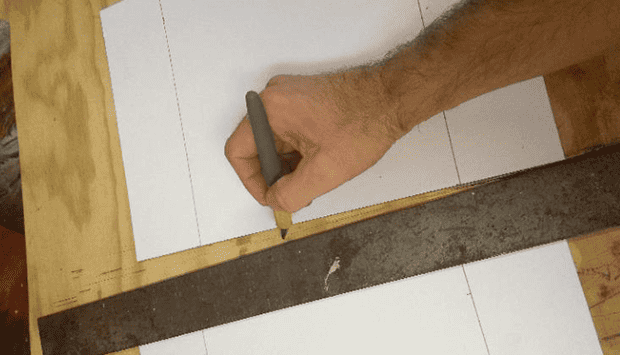
Once you have cut out the box, then score along your fold lines. The “X” marks on the four corners indicate the part of the box which will be cut away and discarded. Use a steel square attached to your work surface (or a metal ruler that you are holding securely) to make your score lines and ensure that the ruler doesn’t move on you as you press down with the hobby knife. Don’t press down too much or too little with the hobby knife when scoring for a fold–too much, and you may cut through the illustration board (although it usually takes a few hard pressing slices to cut all the way through), and too little pressure could possibly make your fold uneven.
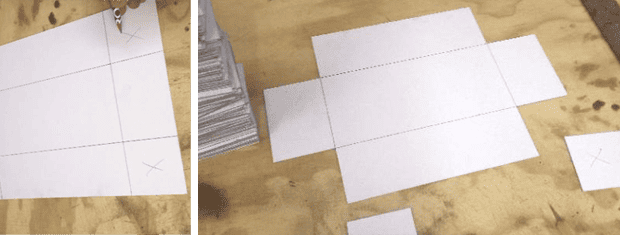
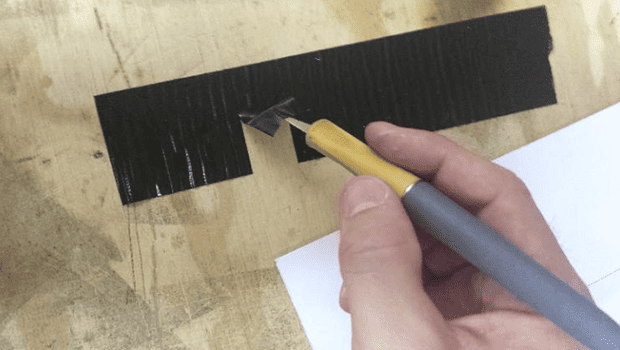
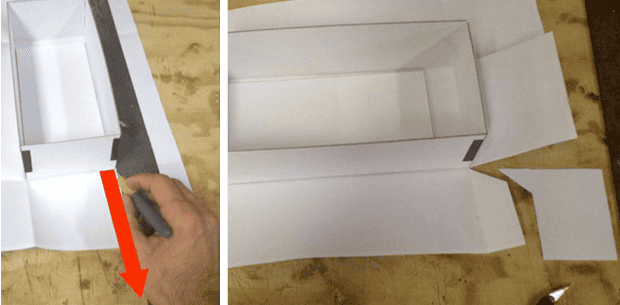
After removing the four corners (you can see I’ve accumulated quite a collection of them in the right picture above!!) fold the sides of the box down away from the score lines. Then, tape the edges together with a small piece of duct tape. I usually take a long pull from my roll of duct tape and loosely attach it to my workbench, and using my hobby knife, I cut smaller, cleaner strips from it. That saves me from having to do the MacGyver teeth-tear every time I need a small, precise piece of tape.
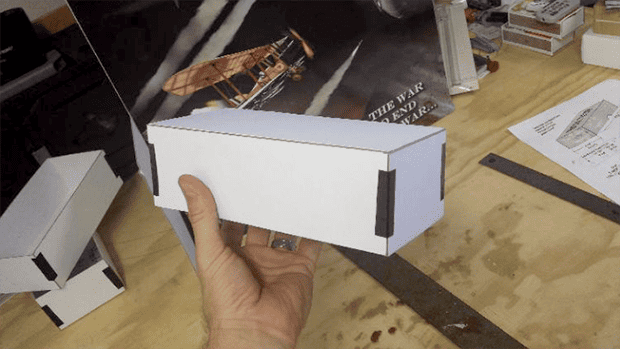
Repeat the same steps for the bottom of your box, keeping in mind the 1/8″ reduction mentioned above. Also, make sure you test out your box before attaching the paper cover with spray adhesive—you don’t want to waste your printed covers if the box doesn’t fit together snugly, and you can always make modifications at this stage of the process if either the top or bottom of your box is the wrong size.
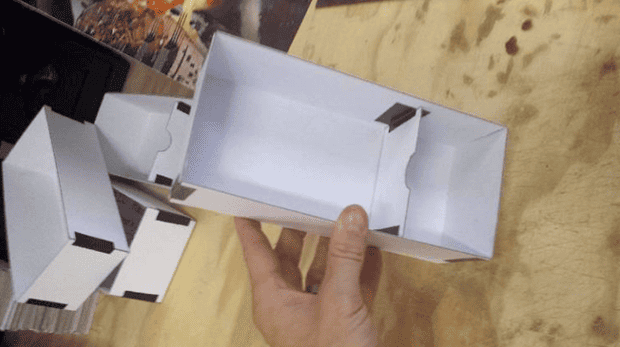
OPTIONAL: I added a spacer to my bottom box so as to keep my deck of cards together and keep them from spilling around in the box. It’s pretty straight forward, although I added a flourish: a thumb-sized tab cutout. This really just amounts to drawing a semicircle on a smaller piece of your illustration board and cutting it carefully with your hobby knife freehand. Then, I attached it internally with strips of duct tape.
BOX COVER
Once you have completed the “skeleton” of the box, it’s time to make it pretty! Start by folding the paper cover along the proper dimensions so that after you spray the box with adhesive it will fit snugly into its proper place. This is why I mentioned keep your area clean–spray adhesive likes to collect…well, just about everything. Don’t ruin your box with dust boogers!!
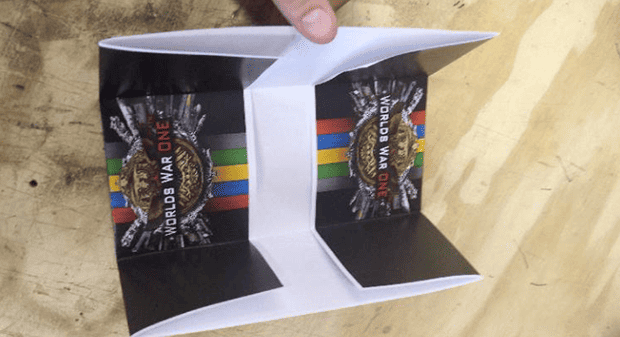
After you spray an even coat on the top of the box ONLY (not the sides, nor the paper), place it on top of the paper cover, and press down firmly until it grabs hold. Make sure it is aligned with your fold marks:
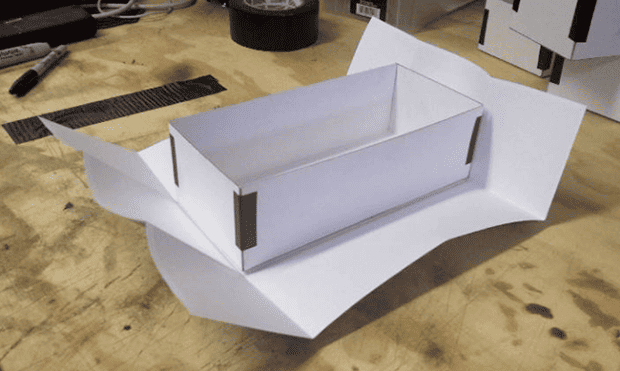
Now comes the tricky part (ok it isn’t that tricky)! On the long side of your box, place your metal ruler or square directly against the box and then cut the paper cover along the fold lines, from the box corner away from the box towards the end of the paper as depicted. You will do this four times, once for each corner.
Then cut tabs as depicted. The tabs will be used to fold over the box corners and create a nice, clean edge for your box. Do this four times, for each corner once again:
Once this is completed, spray both of the long sides (with the tabs that fold over) with the spray adhesive. You want to spray the paper this time instead of the box, because you want the paper to have an even, complete coat of adhesive all the way to the edges. This becomes important when you fold the excess of your paper cover inside of the box. Trust me, you don’t want to be spraying adhesive into the inside of your box (unless your game is called “meeples on fly paper”)!
Pull the paper taut from the bottom up, and use your thumbs to fold the excess paper into the box and flat and even along the illustration board’s surface. Make sure you get all the air pockets out before you move onto the other side. The smooth bend of the paper folded into the inside of your box really gives it that professional finish! After you have sprayed and attached the long sides of your box, it should look like this:
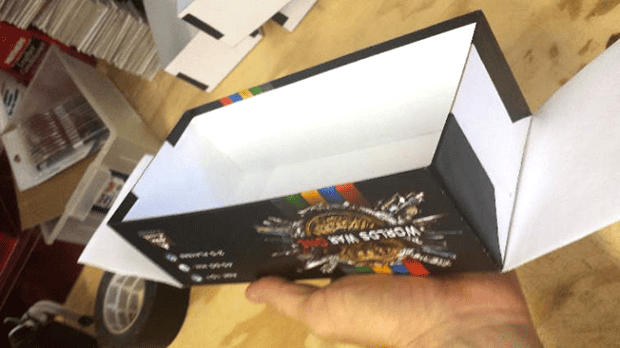
Finally, spray the remaining two sides of paper and fold them into the box as well. Pay attention to the box corners and make sure your paper cover is pressed down firmly all around to seal the paper to the illustration board.
The finished box looks like this:
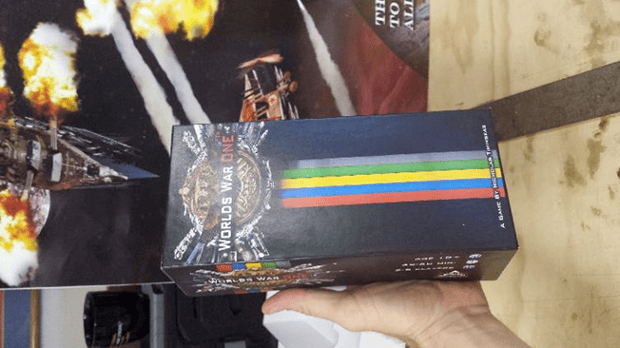
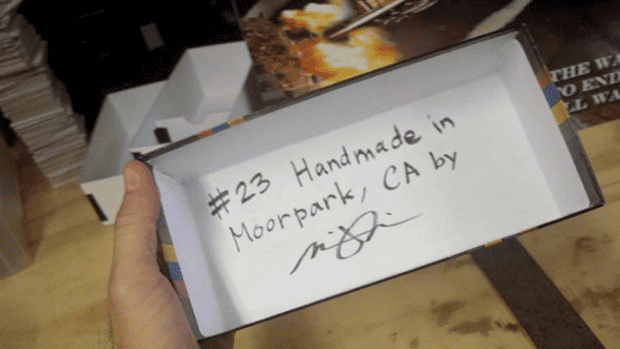
Repeat same steps for bottom of the box…and don’t forget to sign your masterpiece!
HAPPY GAMING!!
If you’d like to learn more about Worlds War One, you can pledge on Kickstarter through September 15th, or stay in touch with Nicholas on Facebook, Twitter or the Worlds War One website.

